Showing posts with label furniture. Show all posts

Friday, July 2, 2010

Sooooo Close!


Seeing how the cushion will look. The zipper isn't in place on the cushion cover yet.


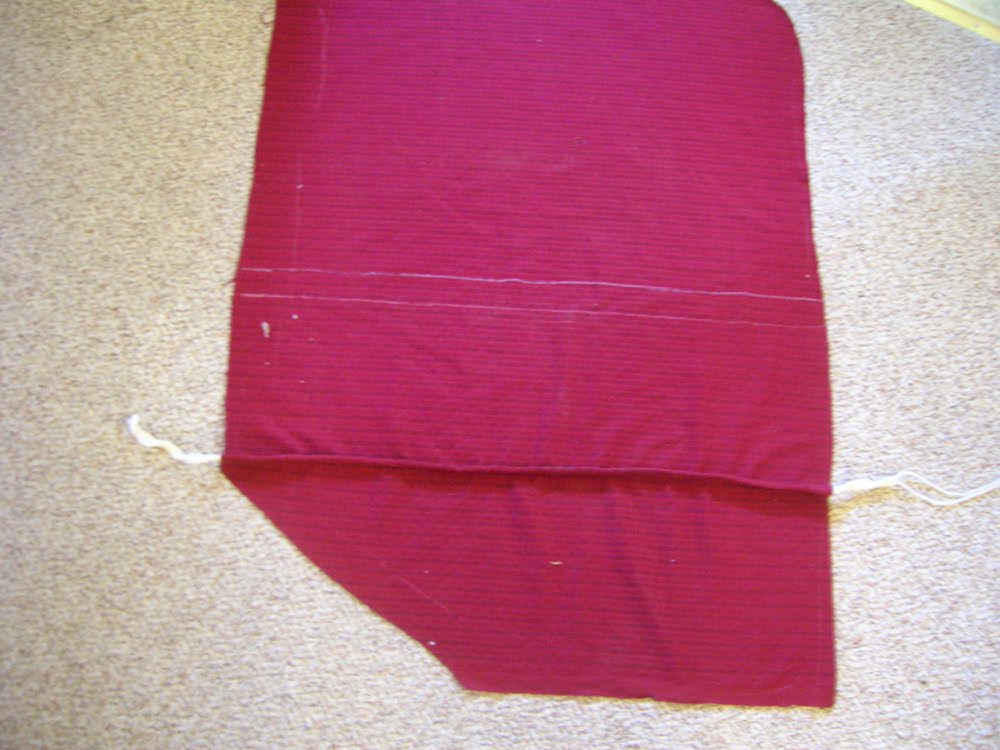
For the back, I stretched a piece of a vintage bed sheet that I used to like on my bed when I was little. There was not too much of it left. I think strips were torn off to tie up tomato plants or something. I'm a little sorry that it won't show, but I'm glad I was able to save it and use it. Maybe my grandkids will get the reupholstering bug someday, and they will see it!

Prest-o, change-o!

Monday, June 28, 2010

Reupholstering. Home Stretch?


In no particular order, putting the side on the chair. And the last one is the cushion cover, beginning to get sewn together.

Friday, June 25, 2010

Reupholstery


The trim at the top and bottom is a strip of fabric with the cording sewn into one side. It is stapled and tacked down close to the cording, in the seam allowance, then folded back over.

Monday, June 21, 2010

Reupholstering a Chair


I've tried several times to nail these wily decorative panels to the front of the arms, every time I try, even with a mallet, even by putting a flat surface over the front, even after reinforcing the inside shape with extra plywood, the nails pop through the top of the fabric. So I gave up and just sewed them onto the front of the arms. It was a very frustrating few days. I can only imagine the original carpenters put a metal strip inside to hammer on, and then removed it. But I only thought of that after I had sewed them on.


It is annoying to me that I can never take a good look at how the chair is progressing because it is always covered with lint! All the bits of stuffing keep migrating around. I guess it can't be helped. The under-cushion part of the seat, that wraps around the front edge is just laid on right now.
Already they are trying to sit on it.

Wednesday, June 16, 2010

Reupholstering and a Family Tree.


My Family Tree from my Maternal Grandma's side. I don't know how big this will enlarge. Hope you can see it.


All my buttons finally covered.


I got all the buttons in place! I was holding my breath the whole time I had to poke the prongs through the fabric, so I didn't take too many pictures. I just pulled the fabric reasonably taut, but not to tight. Lined everything up and popped them in. It got a little difficult to reach in behind and slip on the cardboard bits and spread the prongs because there are a lot of springs in the way. And you still have to keep the button in place from the front, so your stuffing doesn't do awry. It's starting to look like a chair, though. Whoopeee!

Tuesday, June 15, 2010

Reupholstering Furniture. Easy as Pie, Sometimes.


I am trying to figure out how these decorative front upholstered panels were attached to the front of the arms. I have to attach the upholstered cord to the panel and get the panel on the front of the arm, without any nails or staples showing. I put the nails through the cardboard form, stretched the fabric over it, and over the nails. Then tried to hammer it onto the front, but the back of the nails came through the fabric way before they would go into the wood on the front of the arm. Good thing I have that extra fabric. I'll get back to you later, wily arm decoration.


Putting the fabric over the arms was not too difficult. It is secured with staples, then I go back and hammer in some tacks. The back piece is just draped on because I'm getting ahead of myself.


All my buttons.


I sewed the covers on half my buttons and took a coffee break.

Monday, June 14, 2010

Repuholstering Some Furniture.

I will probably be blogging sporadically for a while. This is a challenging season for My Good Babushka, I will leave it at that.


Progress on the arm covers. First I sewed the cord in place, then I sewed the channels deep enough so that they didn't show from the front side. Then I realized I had to take out my stitches that were holding the cords in place, or I wouldn't be able to draw them tight without puckering the fabric. Did I mention I'm sewing every thing by hand?


Old and new


Putting the arm cover in place. Trying to imagine the future.


My messy notes. The instructions I am following backwards.


How things stand

Monday, June 7, 2010

Cutting Out The Pieces


It is unavoidable. At some point you have to actually cut your fabric. This part made me really sweaty.


I cut all the pieces and rolled them up with the old pieces that I labeled and used as pattern pieces.


I even have a generous portion leftover, for mistakes which I assume I will make.


Here I am beginning with the arm cover. It has three channels sewn in, through which cording was enclosed to be pulled and tied to the frame, giving the arms a more tufted appearance.

Friday, June 4, 2010

Adventures in Upholstery. Friday.


This is the piece of fabric taken off of the arm. This piece has three separate channels with cords sewn in. I picked it apart and gave it a good look. Hope I don't mess it up. I may not have mentioned- I am going to do all the sewing by hand because my sewing machine is broken right now. I think doing it by hand will help me to take my time, too. I have trouble being accurate with a machine.


Lastly, I took the seat cushion apart. The cushion insert had deteriorated into a lot of orange dust. We were sneezing a lot that day.


Then I bought the rest of the stuff I needed. Upholstery tacks, tack hammer, upholstery needles, cotton cord, a zipper, upholstery thread, and the foam for the cushion. That all came to $112.00. I knew the foam cushion was going to be expensive. Half of that bill is the foam cushion. I was hoping they would be free that day, like the staff at Jo Ann Fabrics would just say "oh, no! We have much too much, why don't you just take some?" That is not what they said, though.


Then I had to cut some of it away! That's about $20.00 worth of cushion I had to pare away. But I guess it doesn't do any good if the cushion is not the right size for the chair. I just used a serrated kitchen knife. So it's not perfectly shaped, but I don't think it will matter because it is bigger than it needs to be, and the cushion cover will keep it in shape. I hope.


Then I spread all my old pieces out on the kitchen floor, to get an idea of how much yardage I would have to use.

Tuesday, June 1, 2010

Checks Furniture- Reupholstering


I got super excited about this! When I took off the seat and some of the front upholstery, I could see that the springs were Flex-O-lator springs made in New Castle, Pa! Right where I live now! They are not there anymore, of course, but I just thought it was weird. My grandmother bought this in 1955-57 in Monessen at a high end furniture store called Checks. It's not there anymore, either. They spent 50 years in Belle Vernon. Then she gave them to me. I brought those springs back home to New Castle! I know it's not a very big circuit, but we are not a people much disposed to traveling. I just thought it was neat. Next time I'll tell you some stuff I found out about Monessen.

Sorry about the lack of updates on my art projects, but I'm not doing any of them! I am entirely single-mindedly devoted to this project. I would like to not eat or sleep and just keep doing it until it is done. But I won't, because I'm no longer inflexible like that. Like the time I sent my husband out for Christmas lights after Thanksgiving dinner.... that's not me any more. I make dinner and bathe my kids and play with them outside, and I'm not entirely obsessed with one thing... much.